Every RV owner needs a good RV maintenance checklist. An RV (recreational vehicle) is a house on wheels, and it needs the upkeep of both. Every mile of road vibration loosens something, every rainstorm tests a seal, and every season brings new risks: freezing pipes in winter, baking roofs in summer. The good news is that most expensive RV repairs start as small problems you can catch with a simple routine.
We have put everything into one RV maintenance checklist: what to check before every trip, what to do weekly and monthly, how to prepare for each season, and what to hand to a professional once a year. Bookmark it, or print it and keep it in a cabinet.
Safety note: This guide is general information, not professional advice. Always follow your RV owner’s manual, the manufacturers’ instructions and product label warnings, and use a qualified RV technician for any job you are not trained and equipped to do safely. See our full disclaimer at the end of this article.
Key Takeaways
- Water is the biggest enemy. Roof and seal leaks cause the most expensive RV damage, and they start small. Inspect seals often and fix leaks right away.
- Check tire pressure before every trip, and replace RV tires by age (typically 5 to 7 years), not just tread depth.
- Use a routine, not memory. Work from a checklist and keep a maintenance log so nothing gets skipped.
- Match the schedule to how you RV. Full-timers need these checks more often than weekend or seasonal campers.
RV Maintenance Checklist at a Glance
| How often | What to do |
|---|---|
| Before every trip | Walk-around, tires and lug nuts, all lights, hitch and chains, disconnect hookups, slides, awning and steps in, propane off for travel, detectors and fire extinguisher, engine fluids, documents |
| Weekly (in active use) | Dump and flush holding tanks, check battery water and terminals, wipe slide-out seals, test smoke, carbon monoxide (CO) and propane detectors, quick roof look |
| Monthly | Full roof and sealant inspection, lubricate hinges and locks, inspect awning, exercise the generator under load, torque lug nuts, check tire sidewalls, clean air conditioner (A/C) filters |
| Spring | De-winterize, sanitize fresh water system, test appliances and A/C, charge and test batteries, inspect tires and roof |
| Summer | Watch tire pressure in heat, check fridge cooling, inspect roof sealant more often, park in shade |
| Fall | Test the furnace, check weatherstripping, clean and empty everything, prepare for storage |
| Winter | Winterize the plumbing, remove or maintain batteries, cover the RV and tires |
| Every year | Professional service: roof reseal check, wheel bearings, brakes, propane system test, generator service, A/C and appliance service |
Know Your RV’s Core Systems
Every task on this RV maintenance checklist protects one of six systems. Knowing them makes the checklist make sense.
- Roof and seals: rubber, fiberglass or TPO (thermoplastic polyolefin, a tough single-layer roofing material) membranes expand and contract with temperature. The sealant around vents, A/C units and antennas breaks down in the sun’s ultraviolet (UV) light.
- Electrical: 12-volt DC (direct current) power from your house batteries and 120-volt AC (alternating current) power from shore power (a campground hookup) or a generator. Vibration loosens connections and moisture corrodes them.
- Plumbing: fresh, gray and black water tanks, a water pump and a water heater. Fresh water needs sanitizing; waste tanks need flushing to keep sensors accurate.
- Propane: powers the stove, furnace, water heater and often the fridge. Regulators, fittings and lines need regular safety checks.
- Chassis, tires and brakes: they carry a whole house down the highway, so they work harder than a car’s.
- Slide-outs, awnings and leveling: moving parts that need cleaning, lubrication and careful operation.
Before Every Trip: The Pre-Departure Checklist
These checks take about 15 minutes and prevent most roadside breakdowns. Work through them in the same order every time.
Outside: Tires, Lights and Leaks
- Walk all the way around the RV. Look for anything different from last time: fluid puddles (coolant, brake or transmission fluid, water), hanging wires, loose trim or open compartments.
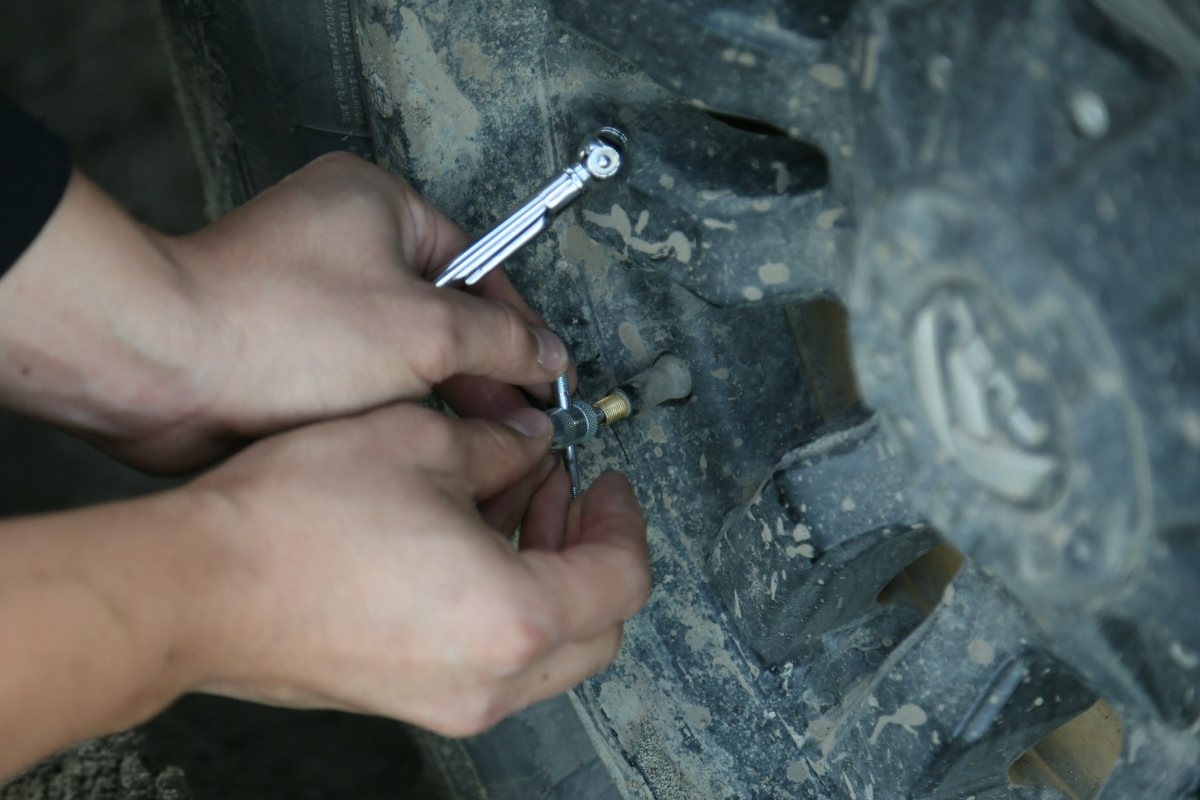
- Check tire pressure while the tires are cold, using the pressure for your actual loaded weight. Underinflated RV tires overheat and can fail suddenly. A TPMS (tire pressure monitoring system) checks this for you while you drive.
- Look at tire condition and age: cracks, bulges, uneven wear, and the date code (see the tire section below).
- Check the lug nuts are tight, especially after any tire work.
- Test every light: headlights, brake lights, turn signals, hazard flashers, running lights and the license plate light. Road vibration loosens bulbs.
Hitch (Trailers and Fifth Wheels)
- Coupler or hitch ball latched and locked.
- Safety chains attached and crossed under the tongue, and not frayed.
- Breakaway cable attached to the tow vehicle (it applies the trailer brakes if the trailer ever separates).
- Brake controller connected and tested.
Campsite Disconnect and Pack-Up
- Empty the holding tanks if you can, then disconnect and stow the water hose, power cord and sewer hose.
- Clear the top of slide-outs and the awning before retracting them. A branch, standing water or debris can cause an expensive slide-out repair.
- Retract slide-outs, awning and steps; raise leveling jacks; lower the TV or satellite antenna.
- Close and lock roof vents, windows and outside compartment doors.
- Remove wheel chocks (and leveling blocks).
Inside: Appliances, Safety and Stowing
- Turn off the water heater, furnace and A/C, and secure the fridge door.
- Propane: spray soapy water on any fitting you moved or reconnected; bubbles mean a leak. Never ignore the smell of propane. Many owners turn the propane off at the tank for travel, and it must be off at fuel stations and anywhere signs require it (some tunnels and ferries).
- Test the smoke, carbon monoxide (CO) and propane detectors.
- Check you have a working fire extinguisher and a first aid kit.
- Stow everything: cabinets and drawers latched, loose items and electronics secured, interior doors closed.
Engine and Fluids (Motorhomes and Tow Vehicles)
- Engine oil, transmission fluid, brake fluid and coolant at the right levels.
- Windshield washer fluid topped up and wipers in good shape.
Final Check Before You Pull Out
- Documents in the RV: driver’s license, insurance, registration and campground reservations.
- Route planned, with a GPS or maps set up for RV height and weight limits.
- Mirrors adjusted, everyone in seatbelts.
- One last walk-around to check for leaks, anything left out, and that all slides and steps are in.
Prefer to tick boxes as you go? Use our interactive RV Pre-Departure Safety Checklist, and see our list of 20+ RV safety tools worth carrying.
Weekly Maintenance (When You’re Using the RV)
- Dump and flush the holding tanks, even if they aren’t full. Add treatment to the black tank and flush the gray tank thoroughly. Regular flushing keeps tank sensors reading correctly. See our holding tank deodorant review and RV toilet paper guide.
- Check your batteries. If you have standard “flooded” lead-acid batteries (the kind with removable caps on top), open the caps and look inside. The liquid should just cover the metal plates. If it doesn’t, add distilled water until they are covered, but don’t fill to the top. Sealed AGM and lithium batteries never need water. If the terminals have white or green crusty buildup (corrosion), disconnect the battery and scrub it off with baking soda mixed in water and an old toothbrush, then rinse and dry. Wear gloves and eye protection, because battery acid burns skin and eyes.
- Wipe down slide-out seals and listen for unusual sounds when the slides move.
- Test your safety detectors and replace batteries as needed.
- Take a quick look at the roof for debris, especially after storms or parking under trees.
Monthly Maintenance
- Inspect the roof closely. Clean it with a soft brush and mild soap, then check every seam, vent, A/C unit, antenna and solar mount. Look for cracks, gaps or sealant pulling away, and check where the roof meets the sidewalls.
- Lubricate moving parts: door hinges, locks, compartment latches and steps. Use silicone spray on rubber seals and lithium grease on metal-to-metal parts.
- Condition slide-out seals with a rubber seal conditioner, paying attention to the top seals where water pools. Lubricate slide rails and gears as your manufacturer specifies.
- Inspect the awning fabric for tears and mildew, clean it with awning cleaner, and let it dry fully before rolling it up. Check the arms for loose bolts. Our RV awning review covers which awnings hold up best.
- Exercise the generator under load for at least an hour, even in storage. Old fuel causes clogged lines and filters, so running it regularly keeps it ready. Change the oil and filter on the hours-based schedule in your manual.
- Torque the lug nuts with a torque wrench to the manufacturer’s specification.
- Check tire sidewalls (inside and outside) for cracks, bulges or uneven wear.
- Clean the A/C filters, more often if you camp in dusty places. See choosing and caring for an RV air conditioner.
Seasonal RV Maintenance Checklist
Spring: De-Winterizing and Season Prep
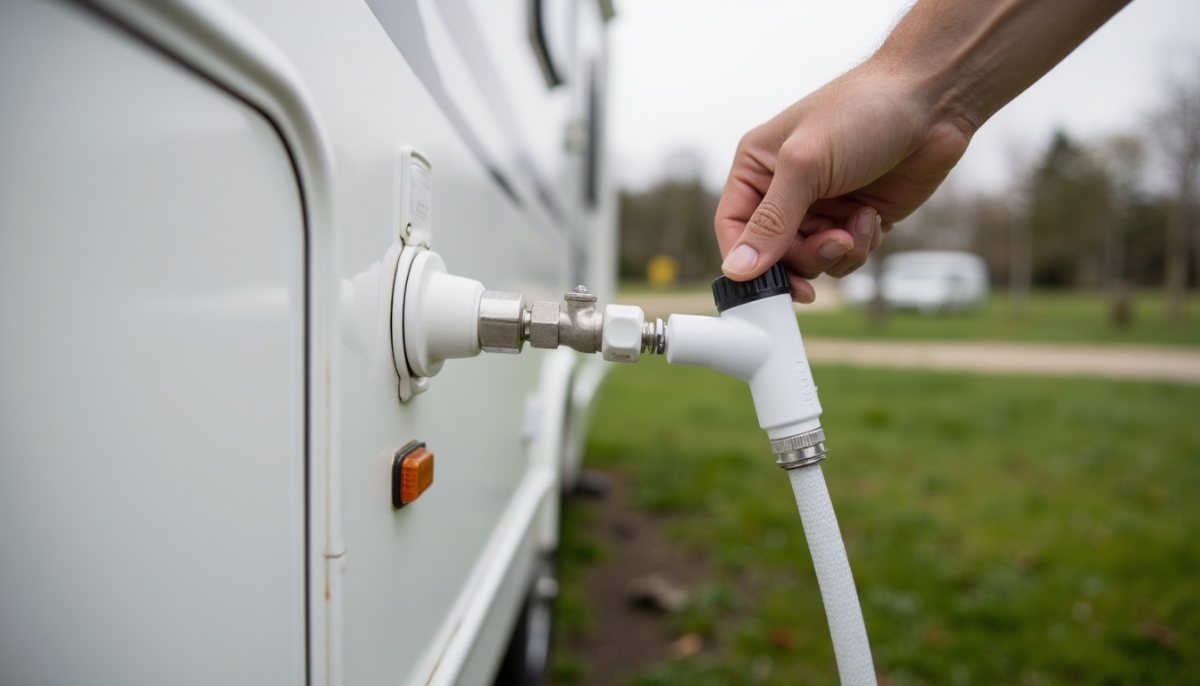
- Flush all RV antifreeze from the water lines.
- Sanitize the fresh water system so it’s safe to drink from (see the box below).
How to sanitize your fresh water tank safely
Check your owner’s manual first, because steps differ between RVs. The simplest option is a ready-made RV water tank sanitizer, used as the label directs. Many RV makers also give a household bleach method in their manuals. A commonly used version:
- Remove or bypass any water filters, and bypass the water heater if your manual says to.
- Use only plain, unscented household bleach (not splash-less, scented or gel types).
- Mix about 1/4 cup of bleach into a gallon of water for every 15 gallons your fresh tank holds. Never pour bleach straight into the tank.
- Pour the mix into the tank, top up with fresh water, then run every faucet until you smell chlorine.
- Let it sit for at least 4 hours.
- Drain everything, refill with fresh water, and flush every faucet until the chlorine smell is gone.
Safety: never mix bleach with other cleaners (some combinations release toxic gas), keep the area ventilated, wear gloves, and don’t drink the water until it has been fully flushed. For a detailed walk-through, see the National RV Training Academy’s bleach sanitizing guide (opens in a new tab).
- Reconnect the water heater (remove the bypass) and check it is clear and lighting properly. Our quick guide to RV water heaters explains how.
- Check every faucet, the shower, toilet and outdoor shower for leaks.
- Test the fridge (gas and electric modes), stove, furnace and A/C before your first trip.
- Charge and test the house batteries; reinstall them if you stored them.
- Inspect tires for winter cracking and inflate to the correct pressure.
- Do a full roof inspection after the winter.
Summer: Heat and Heavy Use
- Check tire pressure more often; heat raises pressure and stresses tires.
- Inspect roof sealant more frequently, because heat speeds up its breakdown.
- Check the fridge is cooling efficiently and that its vents are clear.
- Park in shade when you can. An RV sitting closed in the sun can get extremely hot inside, which ages seals, wall coverings and flooring. Crack the roof vents (with rain covers) to let heat out.
Fall: Pre-Storage Prep
- Test the furnace before you need it and make sure you have enough propane.
- Inspect weatherstripping around doors, windows and compartments.
- Remove all food, linens and personal items to avoid pests and mildew.
- Dump and deep-clean the holding tanks.
- Find good storage. Our guide to RV storage options, costs and prep compares indoor, covered and outdoor storage.
Winter: Winterizing
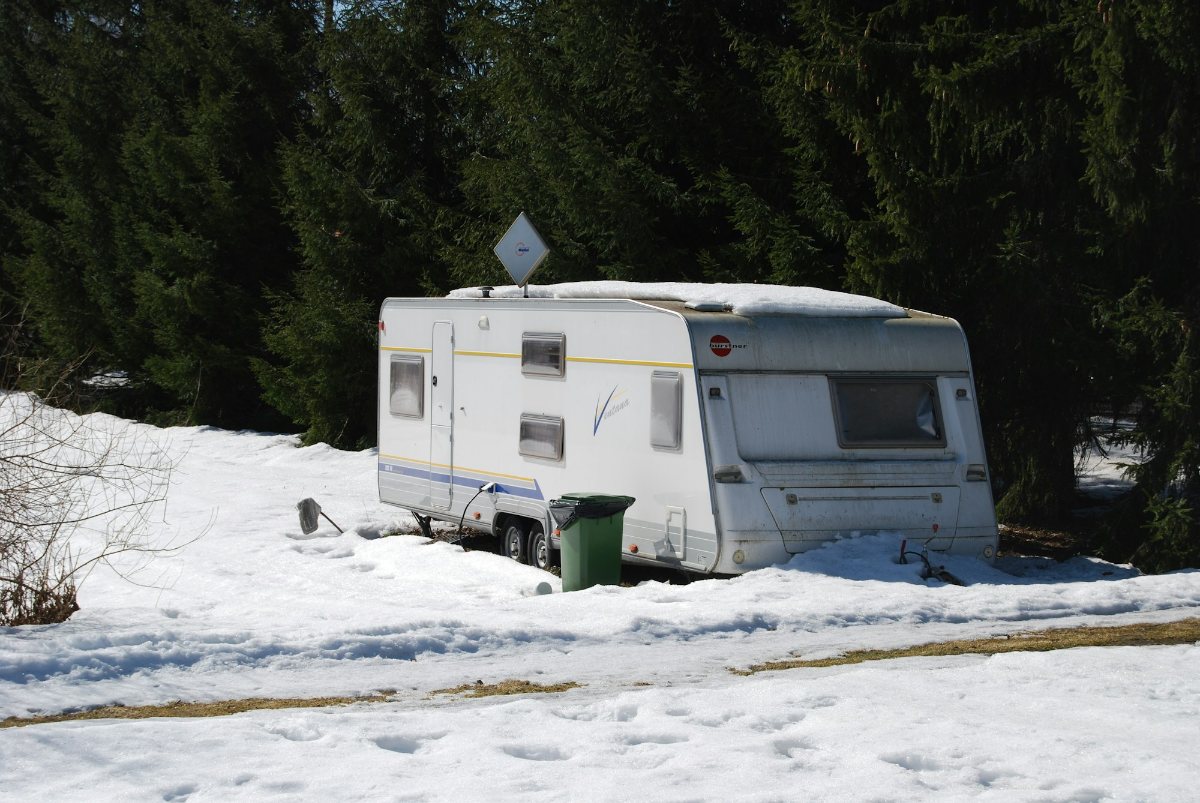
If your RV will sit anywhere that freezes, winterizing is not optional. Frozen water cracks pipes, pumps and water heaters.
Is RV antifreeze safe?
Pink RV antifreeze is usually made from propylene glycol and is considered non-toxic for use in RV drinking-water pipes. Buy one labeled “safe for potable (drinking) water” and ethanol-free.
It is still not meant for drinking. Always read and follow the warnings on the label, store jugs tightly closed and out of reach of children and pets, and flush your water system thoroughly with fresh water in spring before using it for drinking or cooking.
Never use car antifreeze (the green or orange kind made from ethylene glycol) in your RV’s water system. It is poisonous.
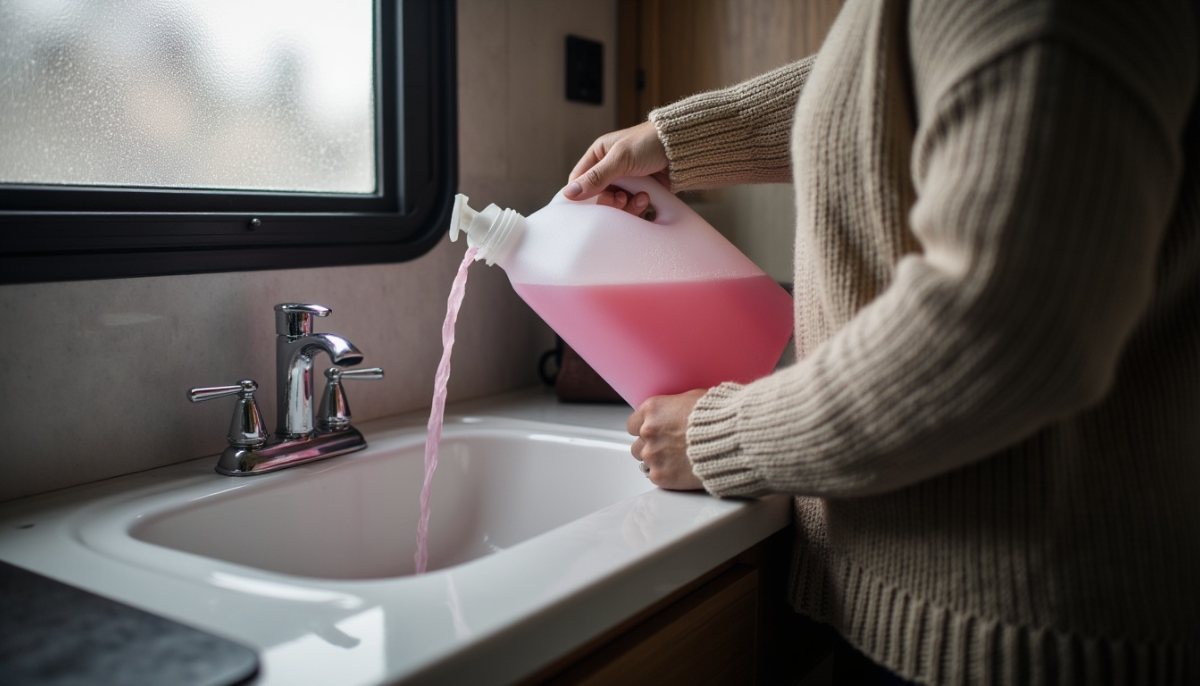
Why is it pink? So you can see it. When you open a faucet during winterizing, plain water comes out first. Once the water turns pink, you know antifreeze has filled that faucet’s pipe and it is protected.
- Drain the fresh, gray and black tanks completely.
- Drain the water heater and switch it to bypass, so you don’t waste gallons of antifreeze filling it.
- Open the low-point drains to empty the water lines, then close them.
- Pump RV antifreeze into the lines, using a winterizing kit (a short hose that lets your water pump draw straight from the antifreeze jug) or a hand pump.
- Open each faucet one at a time (hot side, then cold), the shower, and the outdoor shower, and flush the toilet, until the water coming out turns pink. That shows the pipe to that faucet is now full of antifreeze instead of water.
- Pour about a cup of antifreeze into each sink and shower drain. This protects the water sitting in the U-shaped pipe under each drain (the trap) from freezing and cracking it. It then runs into your holding tanks, where it is harmless and gets dumped in spring.
- Remove the batteries and store them somewhere cool and dry on a battery maintainer, or keep them connected to a battery tender.
- Cover the RV with a breathable cover and fit tire covers.
Always follow your owner’s manual, because winterizing steps vary by model. If you’ll be camping in the cold instead, see our winter RV camping tips.
Once a Year: Professional Service
Some jobs are worth handing to an RV technician once a year, especially if you’re not comfortable on a ladder or under the chassis:
- Full roof and body sealant inspection and resealing where needed
- Wheel bearing inspection and repacking
- Brake inspection (RV brakes work hard because of the weight)
- Propane system leak and pressure test
- Generator service
- A/C, fridge and water heater service
- Slide-out and leveling jack service (some owners do this every few months with heavy use)
Many dealers sell annual service packages. That’s a sensible choice if you’d rather not caulk a roof or repack bearings yourself.
Roof Care: How to Prevent Water Damage
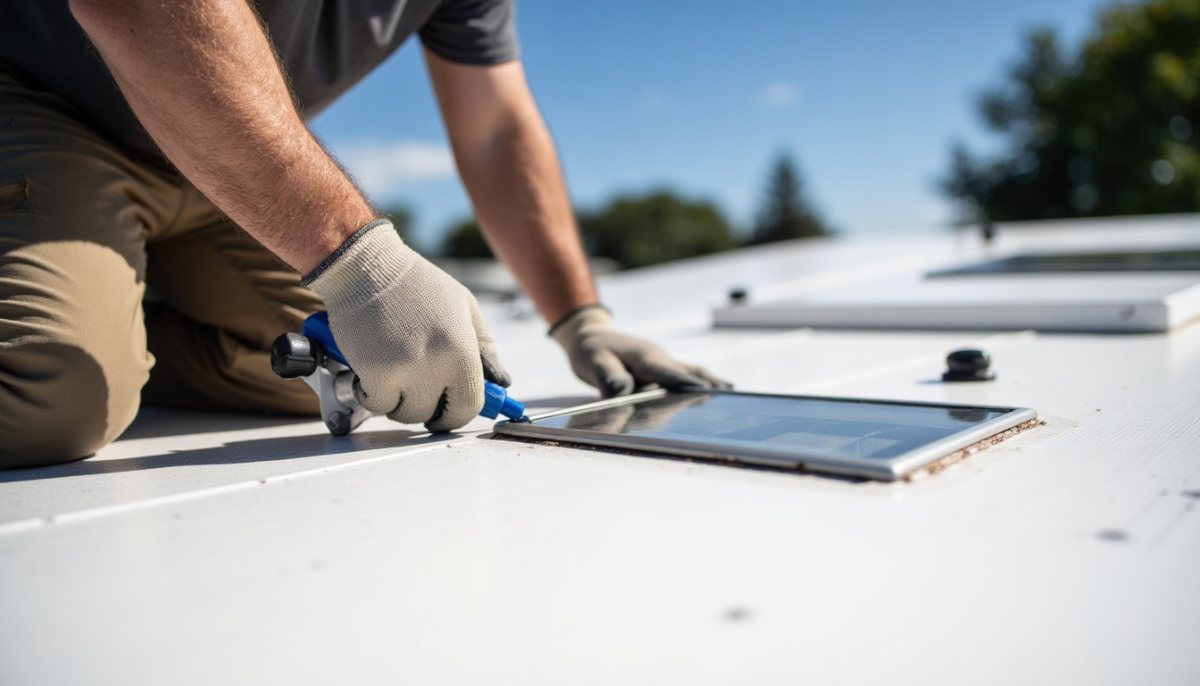
Water damage deserves its own section because it is the most common and most expensive RV problem. Once water gets into walls or floors, wood framing rots, insulation soaks up moisture and mold starts. A small reseal turns into a reconstruction job.
- Use the right sealant for your roof. Self-leveling sealant for flat, horizontal surfaces; non-sag sealant for vertical edges. Make sure it is compatible with your roof material.
- Don’t just add sealant over old, cracked sealant. Remove the old material, clean the surface, then apply fresh sealant.
- Check inside for leak signs: stains on ceilings and walls (especially around windows, vents and slides), soft or spongy spots where walls meet the ceiling, damp cabinets, and musty smells.
- Fix leaks immediately, no matter how small.
- Protect the roof from UV with indoor or covered storage, or a well-fitting breathable RV cover.
Tire Care and Replacement
- Inflate for your actual weight, not the maximum pressure on the sidewall. Underinflation causes heat buildup and blowouts; overinflation gives a harsh ride that shakes the frame and contents.
- Replace by age. Most manufacturers recommend replacing RV tires every 5 to 7 years regardless of tread, because rubber breaks down from UV, ozone and time. The DOT (U.S. Department of Transportation) code on the sidewall ends in four digits: the week and year the tire was made.
- Cover tires when parked for long periods.
- Consider upgrading from the basic tires many RVs ship with to higher-quality RV-rated tires.
More on this in the importance of protecting your RV tires.
Batteries and Power
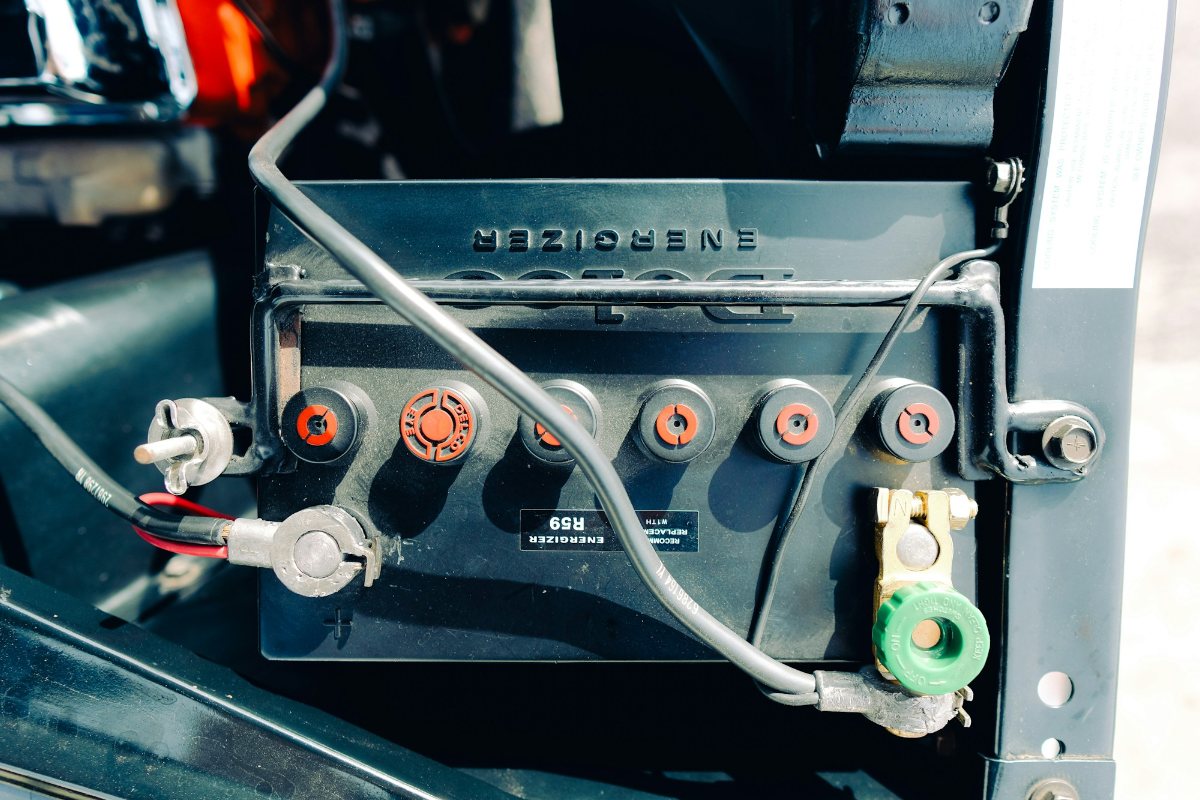
- Keep batteries charged, especially in storage. Deep discharges shorten battery life.
- Check and clean terminals monthly.
- Typical lifespan: about 3 to 5 years for flooded lead-acid, 4 to 7 years for AGM (absorbent glass mat, a sealed lead-acid type), and 10+ years for lithium, depending heavily on care.
- Thinking about solar? See our RV solar systems guide.
Slide-Outs and Leveling
Slide-outs are one of the most common sources of RV repair bills. Keep the seals clean and conditioned, keep the rails lubricated, and never retract without checking the top. If yours is already acting up, our guide to RV slide-out problems, causes and fixes walks through the warning signs. For leveling, see RV leveling block essentials.
Keep a Maintenance Log
A maintenance log is the companion to your RV maintenance checklist. A simple notebook or phone note with the date, mileage or generator hours, and what you did makes maintenance far easier. It shows when tasks are due, helps a technician diagnose problems, and adds value when you sell the RV. Keep your owner’s manuals and appliance manuals with it.
What Does RV Maintenance Cost?
Costs vary widely with the age, size and type of RV and how much you do yourself. Newer RVs under warranty mostly need routine items like oil changes, filters and sealant. Costs tend to rise as an RV ages and parts like tires, batteries, seals and appliances reach the end of their life. A common rule of thumb is to set aside a fixed amount every month for maintenance and repairs, so a big bill doesn’t end a trip. Doing the simple checks on this list yourself is the best way to keep that number low.
Frequently Asked Questions
How often should I reseal my RV roof?
Inspect the roof monthly during active use and reseal any problem spots right away. A full resealing is typically needed every 1 to 3 years, depending on the roof material, climate and sun exposure. Rubber roofs usually need more attention than fiberglass or TPO.
What causes RV tire blowouts?
Underinflation causes most blowouts, because the tire flexes and overheats. Age is the other big factor: rubber deteriorates over time even with few miles. Overloading, road hazards and defects also play a part.
How do I winterize my RV water system?
Drain all tanks and the water heater, bypass the water heater, open the low-point drains, then pump non-toxic RV antifreeze (never car antifreeze) through every faucet, shower and toilet until it comes out pink. See the step-by-step list above.
Why do my holding tank sensors give false readings?
Toilet paper, waste or grease coats the sensor probes inside the tank, so they read full even when the tank is empty. Regular flushing, using plenty of water, and an occasional deep tank clean prevent it.
How long do RV batteries last?
Roughly 3 to 5 years for flooded lead-acid, 4 to 7 years for AGM and 10 or more years for lithium. How you charge, discharge and store them makes a big difference.
Should I store my RV with full or empty propane tanks?
Store tanks turned off at the valve, still attached and with some propane left in them. Completely empty tanks can rust inside from moisture. Turn off the appliance valves too, and make sure the propane detector has fresh batteries.
How often should I run my RV generator in storage?
Run it once or twice a month under load for at least an hour. This keeps fuel moving, lubricates the engine and helps prevent clogged fuel lines.
Disclaimer
The information provided is for educational purposes only. Before carrying out any maintenance or safety task on your RV, please do your own further research so you are fully confident in each step. If you are ever unsure, consult a qualified RV professional or get a second opinion. Readers are responsible for their own safety, and PreciousRV.com accepts no liability for any injury, loss or damage.